Translator is a tool for localizing your program's interface into any language.
The Translator application is named BCGTranslator.exe and installed in the <install path>\BCGSoft\BCGControlBarPro\Designers folder. The corresponding shortcut is added to the "BCGCBPro" application group.
It supports selecting a predefined (or custom) language, operates with translations in XML language files, synchronizing with resource text labels (other synchronization options are also available).
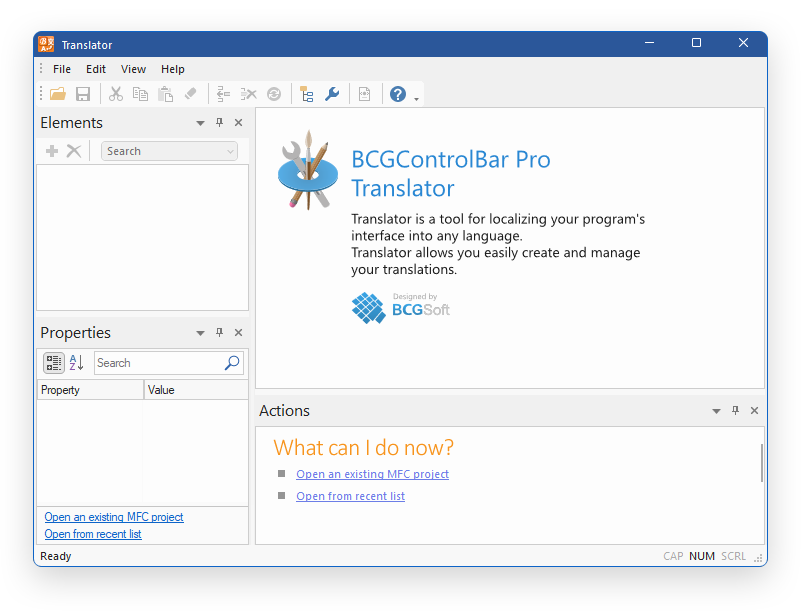
Description of Translator interface
Menu
- File:
- Open... - open an existing Visual Studio project (dsp, vcproj, vcxproj).
- Close - close a project being edited.
- Save - save a project being edited.
- Exit - close the Translator.
- Edit:
- Cut - cut the selection and put it on the Clipboard.
- Copy - copy the selection and put it on the Clipboard.
- Paste - insert Clipboard contents.
- Clear target(s) - clear the translation of the selected items.
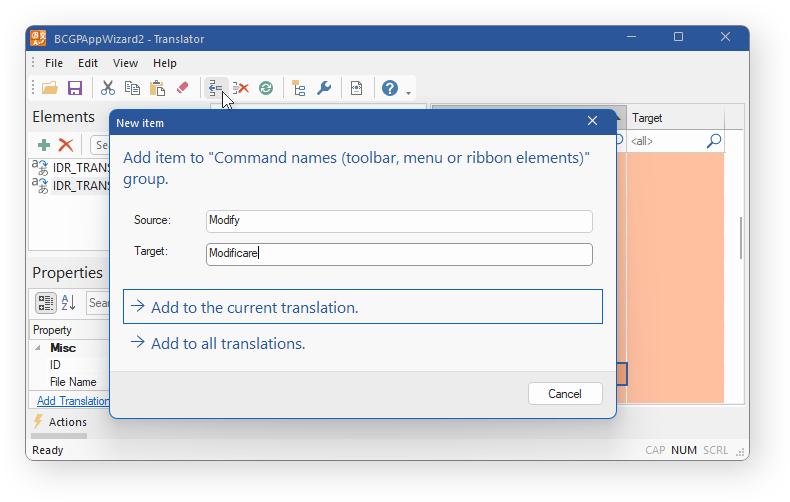
- Add item... - add an item(s) to the translation.
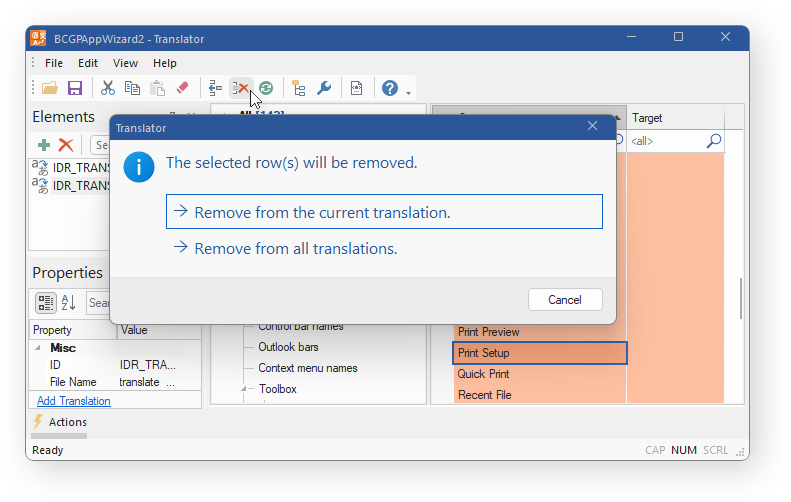
- Remove item - remove an item(s) from the translation.
- Syncronize... - syncronize translations.
- Add from Resources... - add missing resource text labels (string tables, toolbars, menus, ribbons, or dialogs).
- View:
- Toolbars - show, hide, and customize the application toolbars and docking windows.
- Status bar - show or hide the application status bar.
- Application Look - specify the application's theme.
- Help: displays Translator version info and this development guide.
Docking Windows
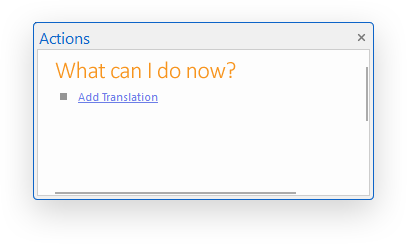
- Actions - displays shortcuts to actions available in the current context. For example, if there is no open project, you can only open
an existing project, or project from the recent list:
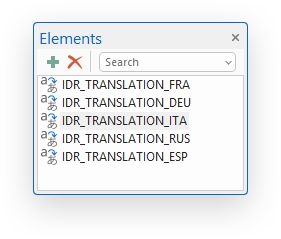
- Elements - displays a list of translations available in the project being edited. Use docking pane to add, delete and see the properties:
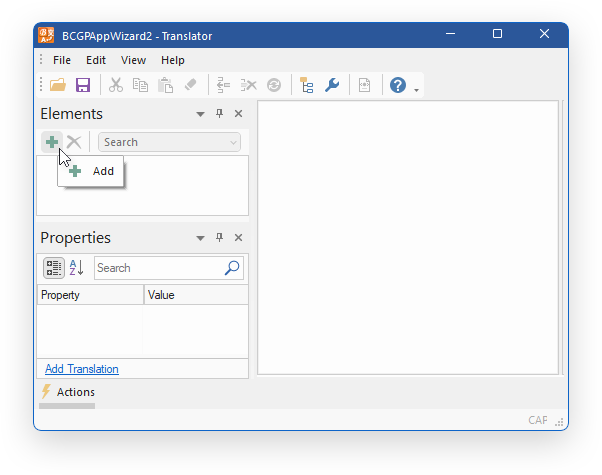
If you click "Add" button the "Add translation" dialog appears:
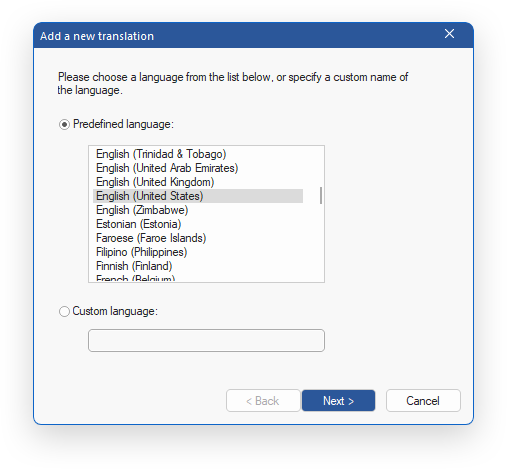
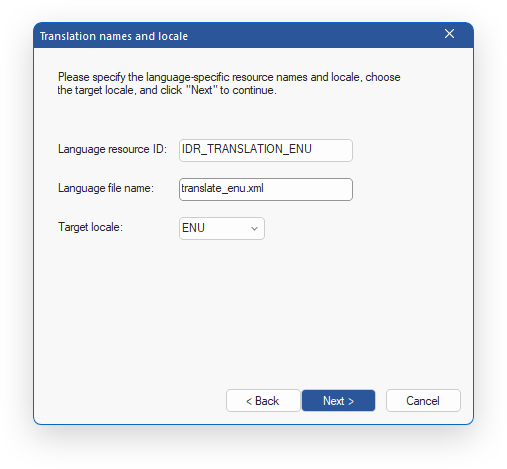
In a few steps, here you can pick a predefined language, specify translation names and locale, then select synchronization type for your interface. For details, see the General Workflow section below.
Clicking the "Delete" button removes the selected translation.
- Properties - displays properties for the currently selected object (translation).
The following screenshot illustrates translation properties:
- ID - specify the new translation ID.
- File Name - specify the name of the translation in XML file.
- Source Locale - specify the translation source language.
- Target Locale - specify the translation target language.
- Internal Resource DLL - specify internal resource DLL.
General Workflow and Main view
-
Start the application and open your working Visual Studio project (.dsp, .vcproj, .vcxproj).

-
To add or delete a translation click the appropriate button on the Elements pane toolbar.
-
In this dialog, you can select a predefined or custom language:
-
The next step is to specify the translation names and locale:
-
Then you must select one of the following synchronization types:
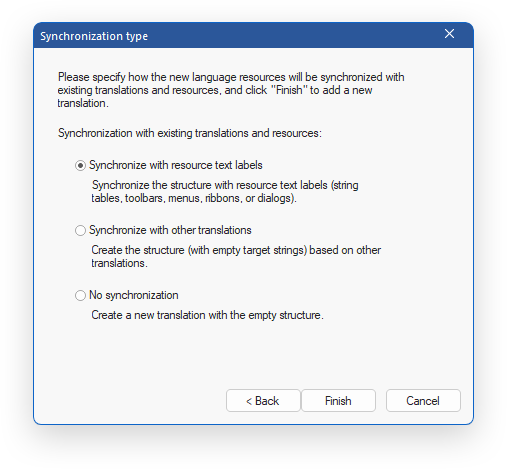
- Synchronize with resource text labels. Synchronize the structure with resource text labels (string tables, toolbars, menus, ribbons, or dialogs).
Please note that if you are using the non-English resources, your .rc file should be saved with UTF-8 or UTF-16 encoding. Otherwise, your resource strings will be incorrectly imported to the Translator.
- Synchronize with other translations. Create the structure (with empty target strings) based on other translations.
- Create empty. Create a new translation with the empty structure.
- For example, let's choose the first method. Once the text labels are loaded, simply fill in the blank matches (or clear any you don't need).
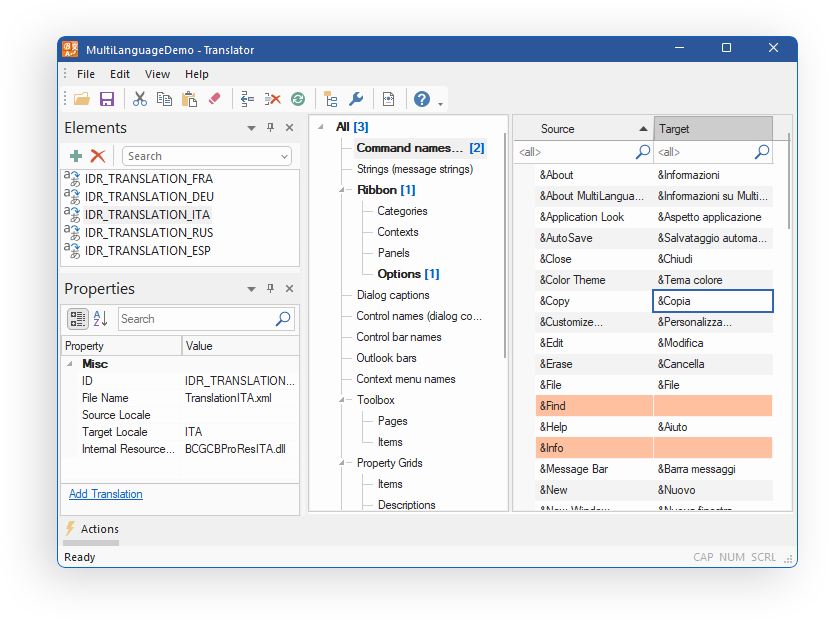
Editing the translation scheme
To add an item(s), you can use the corresponding button on the toolbar:
To delete item(s), use 'Remove item' button:
You can also synchronize the content of translations (Edit -> Synchronize…) with several options:
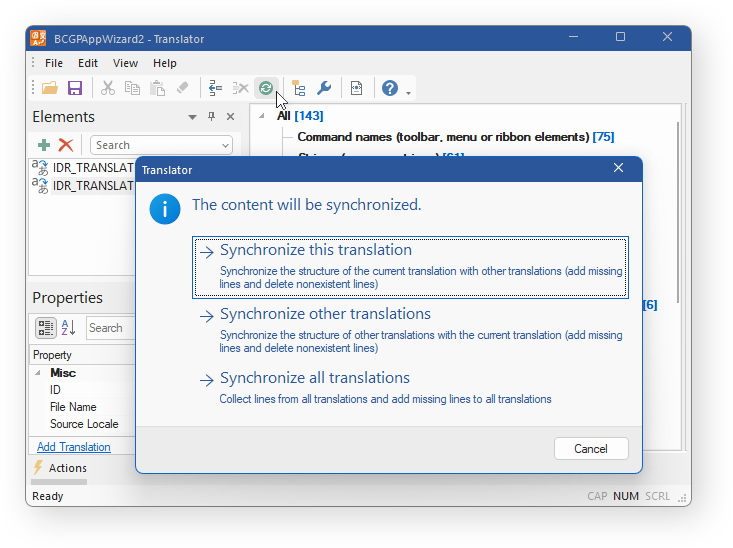
- Synchronize this translation. Synchronize the structure of the current translation with other translations (add missing lines and delete nonexistent lines).
- Synchronize other translations. Synchronize the structure of other translations with the current translations (add missing lines and delete nonexistent lines).
- Synchronize all translations. Collect lines from all translations and add missing links to all translations.
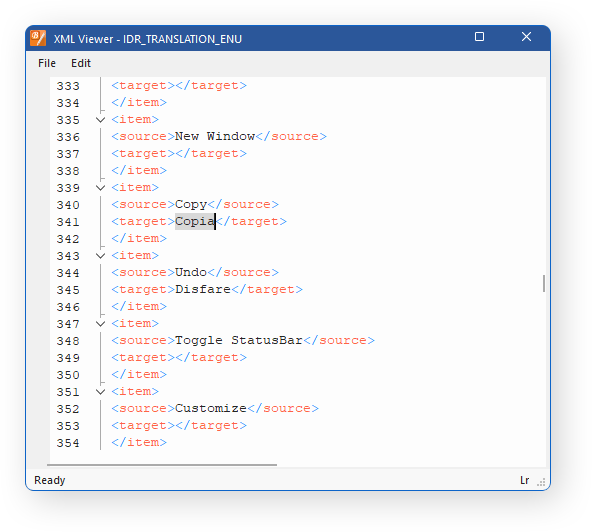
Translator generates the corresponding XML, which can be viewed through the XML Viewer (View –> XML Viewer).
Please look at the Localization article to examine how to use translations prepared by the Translator in your application.
Back to the Developer Area